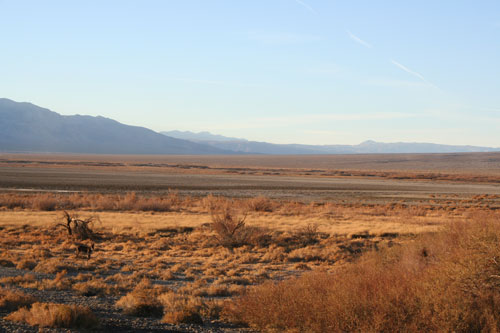
Everyone loves a good plate of nachos, especially in a festive atmosphere with a bunch of friends. It just so happens, the first time I made this was the first time I met Aimee and her family. It was on their usual yearly New Years camping excursion to the ghost town of Ballarat near Death Valley. The weather was particularly bad that year, preventing us from leaving our campsite. Besides the unpredictable rain showers plaguing us, there were violent wind gusts that threatened to blow our camp kitchen awning away. The wind had already stolen a tent and ripped another one in half. So there we were, like posted sentinels, each holding on to an awning leg with a watchful eye on the rest of our gear.
Like most camping trips, the conversation soon turned to food. It was mid-afternoon and we’d been snacking since breakfast. We wanted something a little more substantial, but not a full meal. I mentally scanned what I had in my ice chest and offered to make nachos for everybody. I wasn’t expecting it to be something special, just something to fill our bellies. To my surprise, everyone dug in with great enthusiasm. I think it was at that point that we bonded, all of us hunched over the bowl of nachos, happily munching away on the cold grey day.
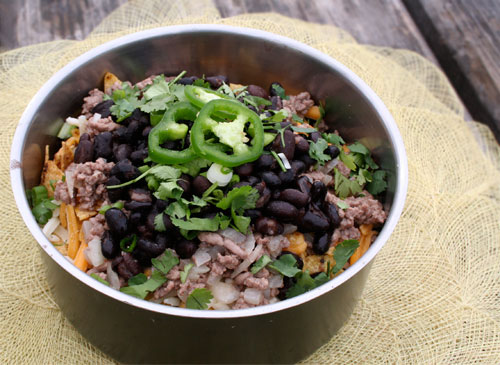
I should talk a little about why these are camping nachos, and how differ from traditional nachos. First of all, you don’t need an oven to make these nachos. Second, the ingredients are layered creating multiple layers of goodness as you dig into the nachos. No more naked chips on the bottom without any toppings! Another reason for layering is to melt the cheese (key for a successful bowl of camping nachos). This is achieved by pouring really hot beans (and their liquid) directly over the cheese on each layer.

The great thing about this recipe is that you can totally improvise. As long as you have the base – tortilla chips, shredded cheese and a can of beans in liquid, you can go crazy and add as many toppings as you like (sour cream, salsa and guacamole are ideal candidates). I’ve indicated the serving size for 4 people but you can easily share this between two as a meal. It’s filling and very satisfying. Keep a spoon handy, as you’ll probably need it as you get further into the nachos.
The sun eventually made an appearance as the rain was stopping, creating a huge rainbow spanning the whole valley. It was the celebration of the beginning of a great friendship. I don’t guarantee you’ll make friends with this dish but, in case you don’t have any, this is a great place to start.

Camping Nachos
Yield
4 servingsPrep Time / Cook Time
/Activity Guide
Bike Touring, Car CampingIngredients
- 1/2 large bag of tortilla chips
- 1 16-ounce can of black beans
- 8 ounces cheese, shredded
- 1/2 pound ground beef
- 1 small onion, chopped
- 2 jalapenos, diced
- a handful of cilantro, chopped
- 3 green onions, chopped
- 1 tablespoon oil
- salt and pepper, to taste
Tools
- Can opener
- Cutting board
- Knife
- Mixing spoon
- Skillet
- 2 quart pot or large bowl
Method
- In a skillet or pot, heat oil over medium-high heat. Add onions and ground beef, and half of jalapenos. Cook for about 5 minutes or until meat is browned and onions are translucent. Season generously with salt and pepper.
- Open the can of beans, pour into skillet with meat. Heat over medium heat.
- Start layering your nachos beginning with the tortilla chips. I like to break them up in smaller pieces so that the bean & meat flavors can seep throughout the nachos. Add 1/3 of the shredded cheese, green onions, cilantro, and extra jalapenos on top of the chips.
- Once beans & meat are boiling, turn off your stove. Use a spoon and scoop the mixture all over the first layer of nachos. Repeat the layers two more times or until you run out of ingredients and/or room in your pot.
- Make sure your hands are clean and dig in while it’s hot!


this looks so frigging good..
Made these nachos (minus the meat) on a camping trip to Utah last month. They were so good after a long day of canyoneering. Thanks for the recipe!