

It’s been a hiking kinda summer. In the last year or so, a hiking group has naturally formed which we’ve named Trailchuggers. It’s a silly name but it’s something to hang on to and it motivates us to coordinate 5 different schedules so we can get outside and have an adventure together.
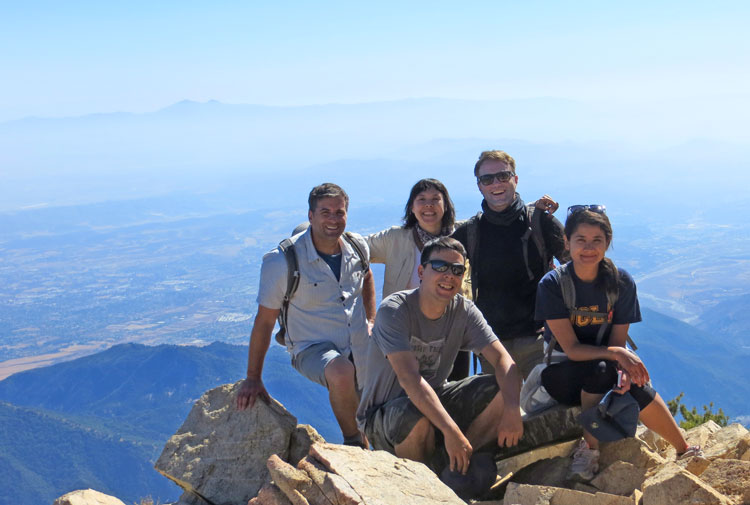
We have been slowly tackling the SoCal six pack summits. The hikes to these peaks are the ones with the most elevation gain and typically are done to train for the John Muir Trail and/or Mount Whitney. So far, we have completed Mt. Wilson, Cucamonga Peak, Mt. Baldy, San Bernardino and San Jacinto. The last and final challenge is the largest one – San Gorgonio which I’m hoping to get to conquer in the next 3 weeks.
With all this hiking under my belt, I’ve learned a few things.
- After years of constant blisters, I finally found a solution that works for my feet – Brooks Cascadia Trail Runners. Taking care of your feet is critical for backpacking, hiking and trail running. It’s such a relief to know that I can now go outside, play hard and go home without destroyed feet.
- I’ve taken for granted the trail experience that I have accumulated. Many of the hikes have been with people that don’t have a lot of hiking experience. That has been really exciting – that is one of the goals of Dirty Gourmet – to get people outside! At the same time, it’s been a little nerve-wracking to see how underprepared some people were for serious all-day long hikes. Here’s a list of the ten essentials you should always have with you when venturing outside.

- I realized that if someone were to get injured on the trail, I have no clue about first-aid procedures and neither would anyone else in the group. I’m taking care of that by signing up for a Wilderness First Aid class, a 2-day long workshop offered by REI and the Wilderness Medicine Institute. When I finish this class, I will receive a NOLS Wilderness Medicine Institute Wilderness First Aid certification and should be able to make an informed decision should anything ever happen in the backcountry. Check the schedule for a class near you here.

All this hiking has forced me to come up with different fun snacks to share with everyone. Being that I always crave salty crunchy snacks while hiking, I decided to make homemade cheese crackers. I made a regular version and a vegan version using Daiya cheese. Both turned out well – with many even preferring the vegan ones! This recipe comes together really easily and you get to play with cookie cutters. Have fun with the flavors and try your own versions with different herbs and maybe even chopped sun-dried tomatoes. Hiking is not done. I’m all ears for your fave trail snack suggestions.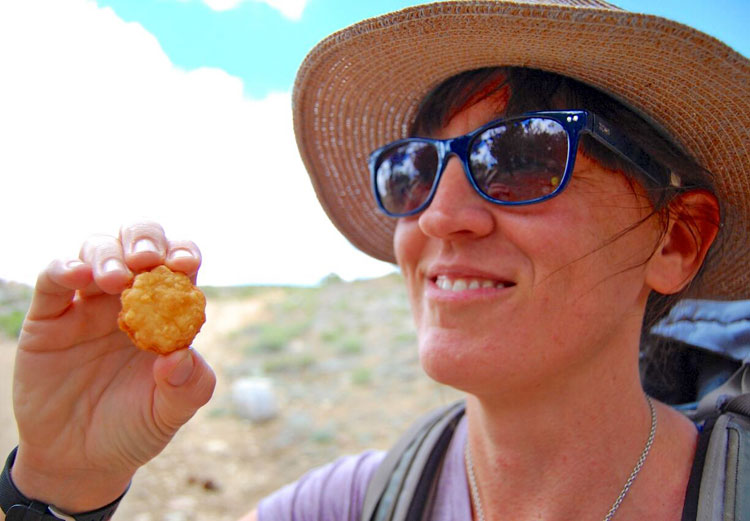

Herby Cheddar Cheese Crackers
Yield
About 4 dozen cookies (1 1/2 inch diameter)Prep Time / Cook Time
/Activity Guide
Car Camping, Day TripIngredients
- 1/2 pound sharp cheddar cheese, grated
- 1 cup flour, plus a handful for rolling
- 1/2 teaspoon thyme, dried
- Dash of cayenne
- 3 tablespoons olive oil
- 1/4 teaspoons salt
- 3–4 tablespoons milk
- 1/3 cup walnuts, finely chopped
- Spray Oil
Tools
- Cutting board
- Fork
- Grater
- Knife
- Large bowl
- Measuring cups
- Measuring spoons
- Rolling pin
- 9 x 12 inch Baking sheet
- Silicon mat or parchment paper (optional)
Method
Spray your baking sheet with oil and set aside. Turn on oven and set to 350˚F.
In a large bowl mix grated cheese, flour, oil, salt, thyme and cayenne until they are will mixed. The mixture will be crumbly.
Add milk and walnuts and knead into a large ball. If the mixture is still too dry or crumbly, add milk/water by the teaspoon until everything holds together as a ball but is not too wet.
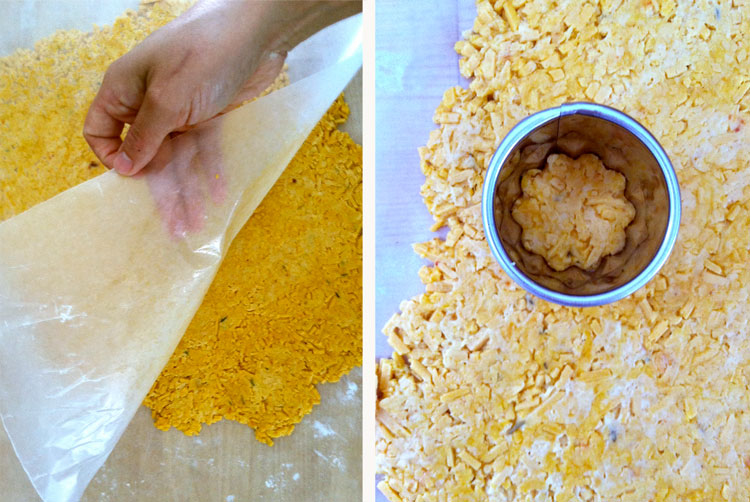
Sprinkle a clean surface with a light coating of flour and roll out the ball so it flattens out between 1/8 inch to 1/4 inch. Make sure the thickness is even across the dough.
Cut cookies out from rolled dough and place on the oiled baking sheet. I used a 1 1/2 inch cookie cutter, but feel free to cut to use other sizes and shapes.
Place in oven on the middle rack. Watch the crackers closely as they can burn quickly! They will be golden brown on top and slightly puffed when they are done.
* Recipe adapted from Simple Foods for the Pack
